
Here’s how to clean your headphones, headsets and earpads. Remove bad smells and sticky surfaces.
And, learn how to keep them fresh, so you don’t have to clean them all the time.
Your headphones are smelly and sticky. What do you do?
Here are all the tools and techniques you need to make your headphones like new.
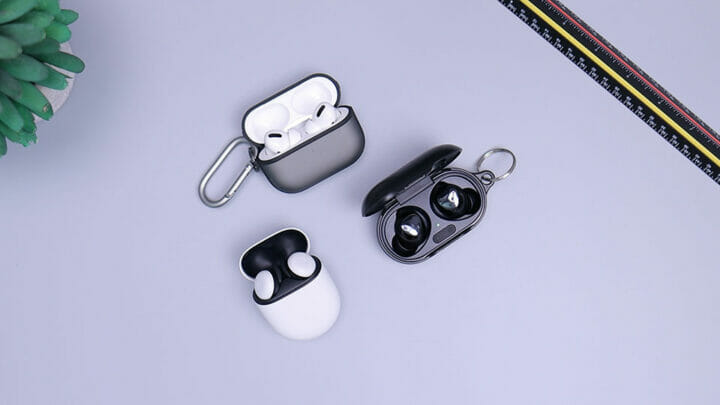
Want to clean your earbuds? (this is a dedicated guide).
But first…
Why Clean Your Headphones?
Because of dirt and bad smell. Headphones are magnets for sweat and grease your body produces. It sticks on your earpads over time.
It’s probably the reason why you’re reading this article.
Is there any proof that dirty headphones are bad?
What Happens to Your Headphones If You Don’t Clean Them?
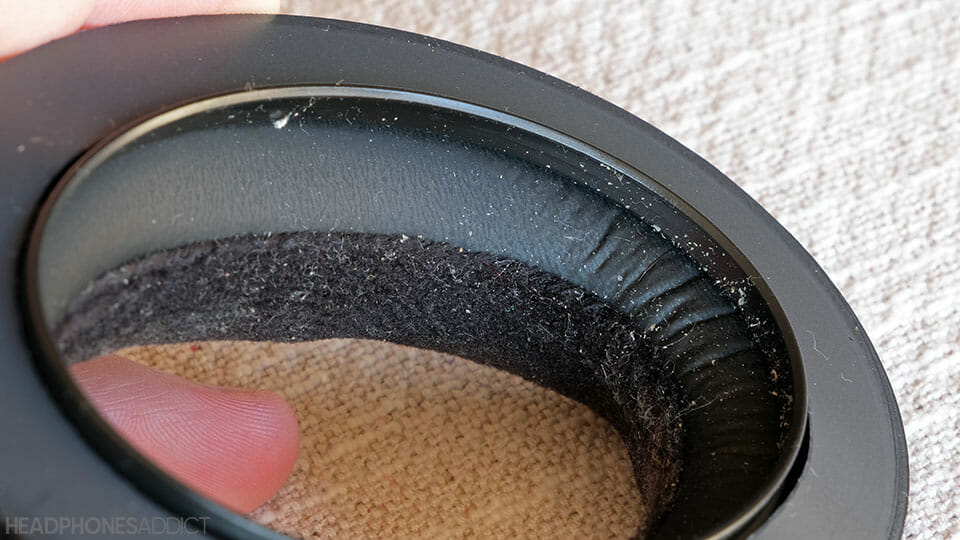
When a month’s worth of bodily fluids is stuck on your headphones, they begin to smell. Greasy headphones not only attract dirt but are also an excellent place for bacteria to grow.
You start noticing stains on your earpads, which are a collection of hardened grease and dirt. Pads are also not as comfortable as before.
If you haven’t been grossed out before, you should be now.

Does Hygiene Affect Your Earpads and Headphones?
The cleaner your skin, the better since less grease transfers on your headphones.
Of course, that doesn’t mean you have to shower before every use. By doing that, you do more harm to your body than good.
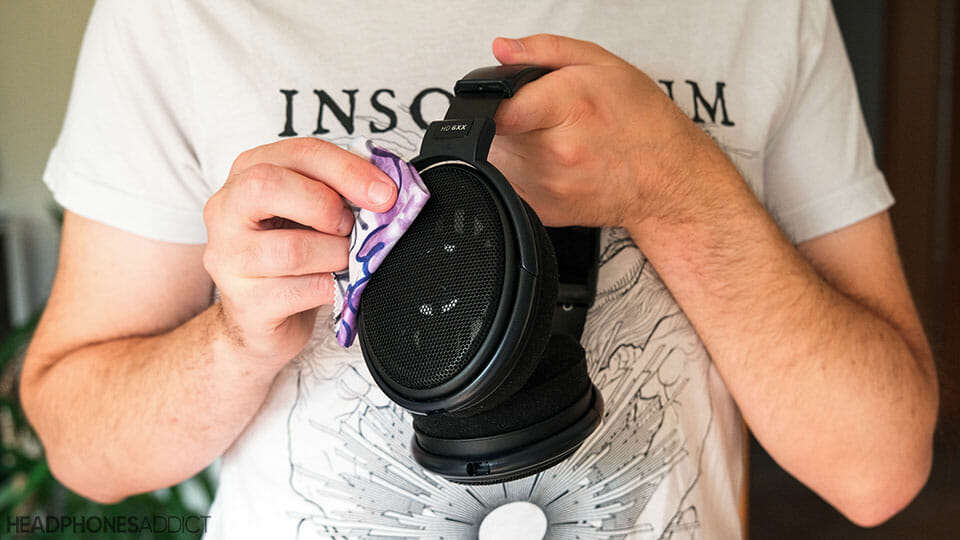
Just make sure you don’t use headphones when covered in sweat, and wipe the earpads with a cloth or a shirt after every use.
Is Sound Affected by Dirty Headphones?
Stiff earpads that don’t perfectly seal your ears can affect the sound in the wrong way.
Also, some hairs or dirt may find their way into the driver’s chamber. When drivers push a lot of air at higher volumes, they start touching the dirt, producing a crackling sound.
The effect is even more noticeable with more sensitive planar magnetic or electrostatic drivers.
How To Clean Headphones
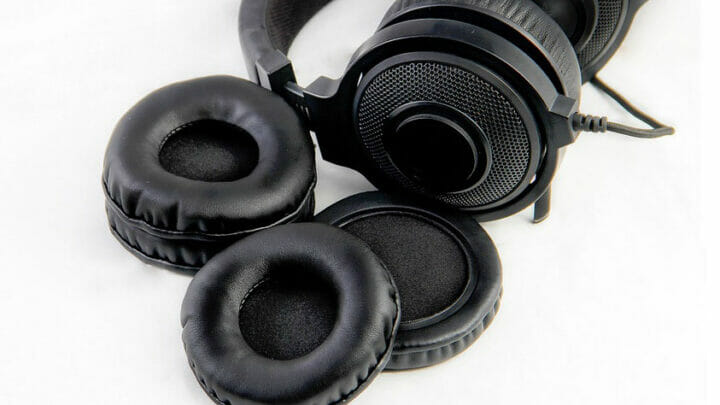
Cleaning Earpads
First, you have to clean your earpads since they need the most time to dry.
Earpads come in different materials:
- Faux leather
- Velour
- Fabric
- Geniune leather
While you can clean velour and fabric earpads in the same fashion, faux and genuine leather earpads require slightly different treatments.
Especially genuine leather ones require more patience and care to keep them nice and soft.
It’s worth noting that it’s better to prevent large amounts of dirt from building up in the first place. To do that, use a towel or your shirt to brush your earpads after every use.
What are the best headphones with detachable earpads?
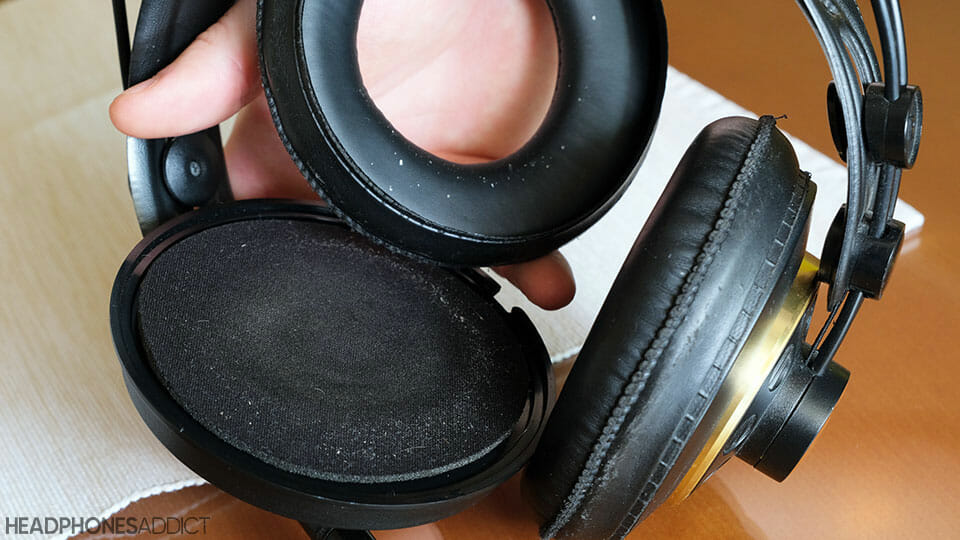
How to clean VELOUR and FABRIC earpads?
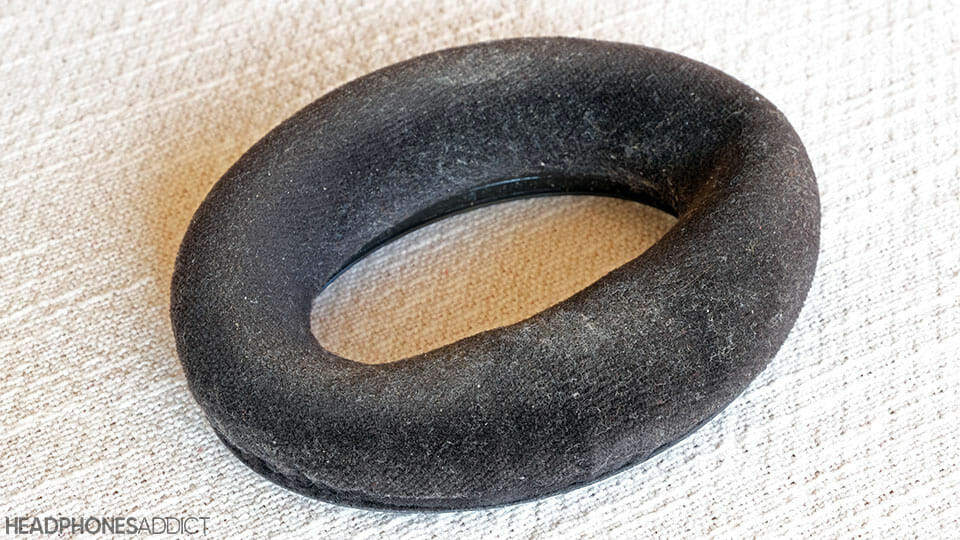
Velour is a type of fabric that feels soft to the touch. It has a lot of fabric “hairs” sticking out, which makes it plusher.
However, those sticking hairs collect more dirt compared to a smoother surface, like leather.
Meaning, all the sweat and grease stays on your earpads. If you don’t clean velour regularly, the grease will harden up and start looking nasty.
Thankfully, even at that stage, you can rescue your earpads by washing them thoroughly. Follow these steps:
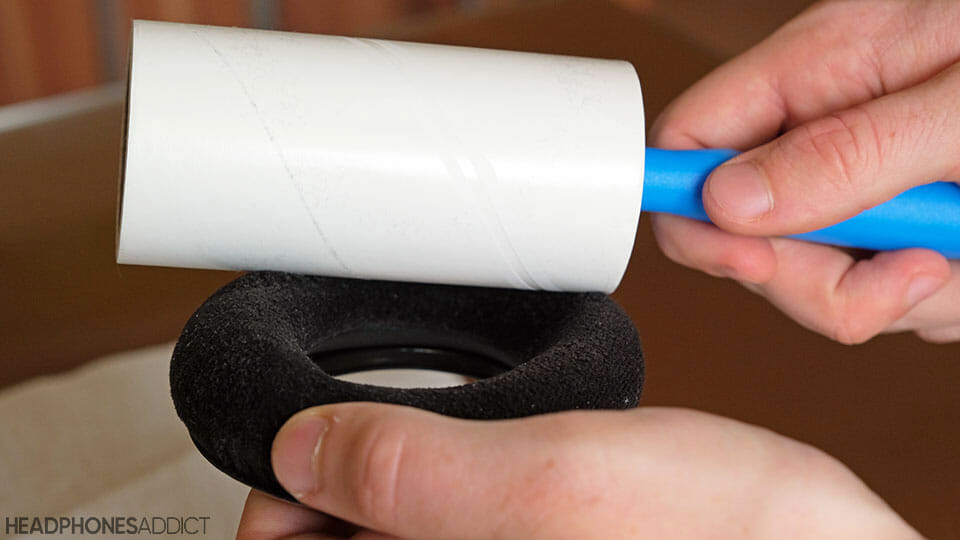
- First, you have to detach the earpads from headphones.

- Use a lint roller to collect any dust or hair stuck on velour.

- Place some detergent in warm water.
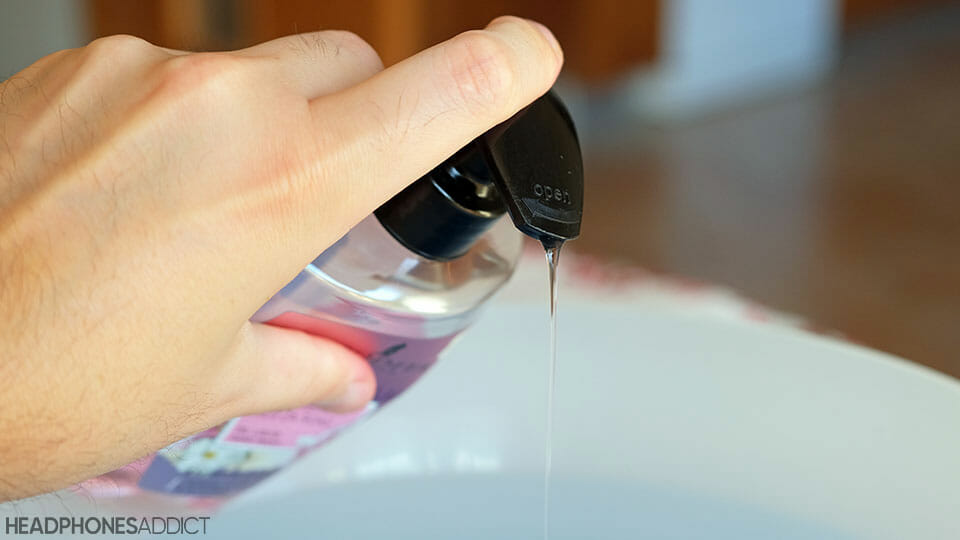

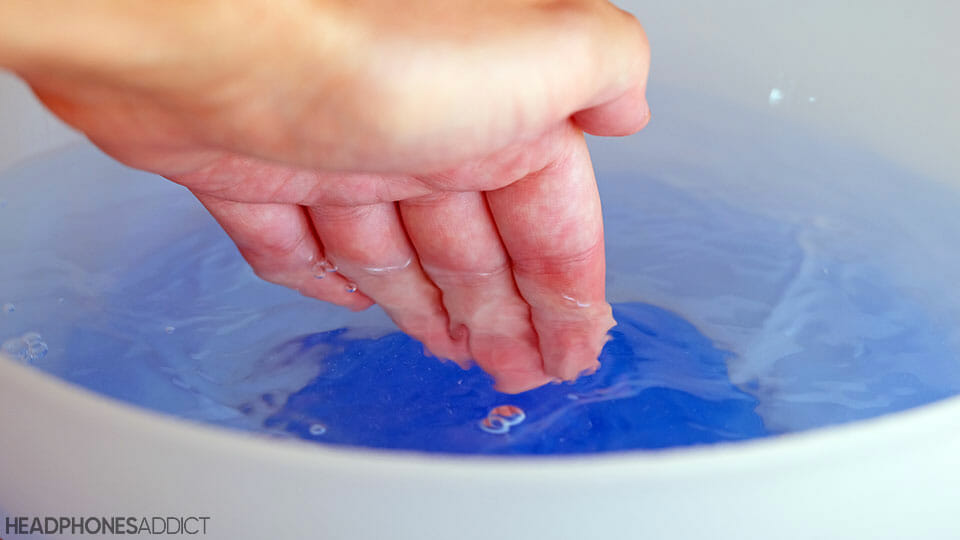
- You can either brush them with a dampened cloth or soak them in water with detergent (if pads are detachable).
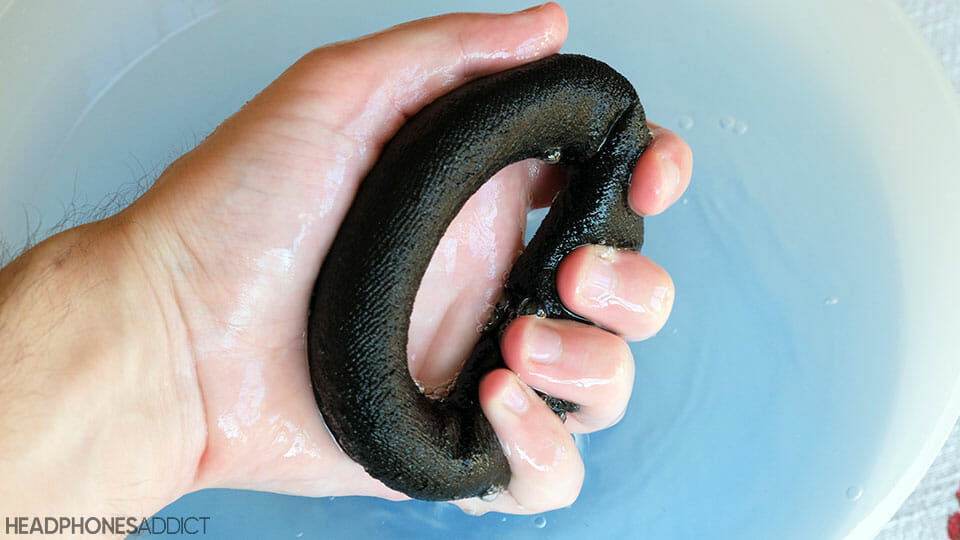
- While in water, scrub the earpads with your fingers to soften up the dirt and push it off your earpads.
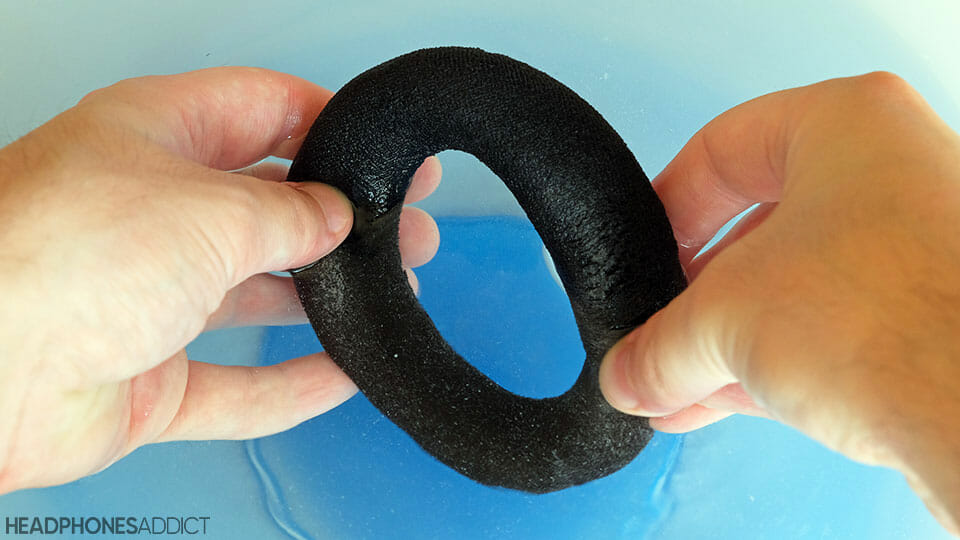

- Squeeze all the water out and place them into another bowl with clean, room temperature water. Make sure not to squeeze them too hard since you might crack them open.

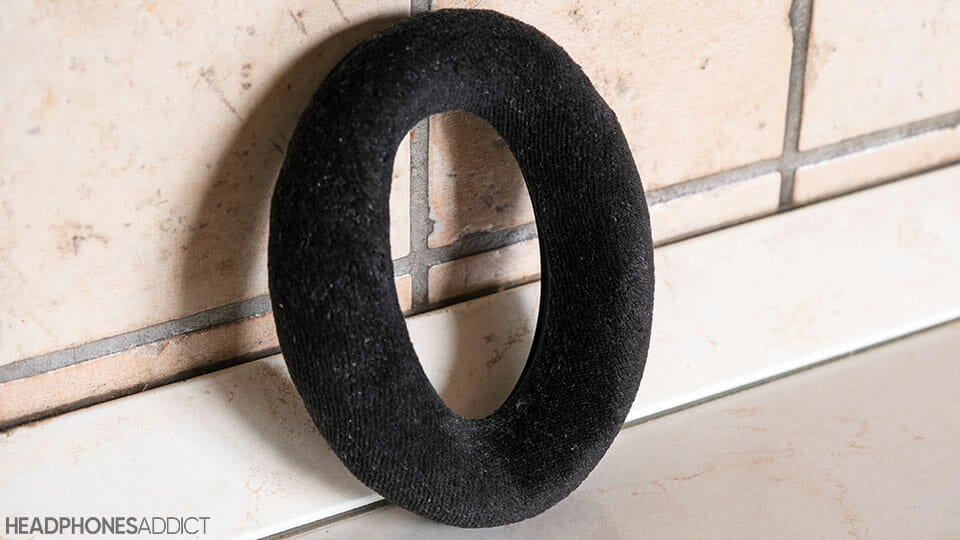
- Squeeze them again to let out all the water and let them dry for a day or two or until they’re no longer wet. Don’t leave them in the sun to speed up drying to avoid damaging the velour.

How to clean FAUX LEATHER earpads?
Faux leather (or pleather or leatherette) is the most common material used to dress earpads.
It varies from plasticky one to more premium, soft pleather, or vegan leather.
While you still have to take care of it, it doesn’t require special ointments to keep it fresh and flexible.
However, regular cleaning is necessary. Otherwise, the dirt that starts hardening up and can crack up the pleather, exposing foam underneath.
- If possible, detach earpads from headphones.

- Fill a bowl with warm water and a small amount of washing detergent or liquid soap. Slightly dampen a towel and rub it all over earpads.

- Dip the other end of the towel in clean water and brush off earpads again. By doing that, you remove excess detergent from the surface.
- Let your earpads dry out before attaching them back to headphones.
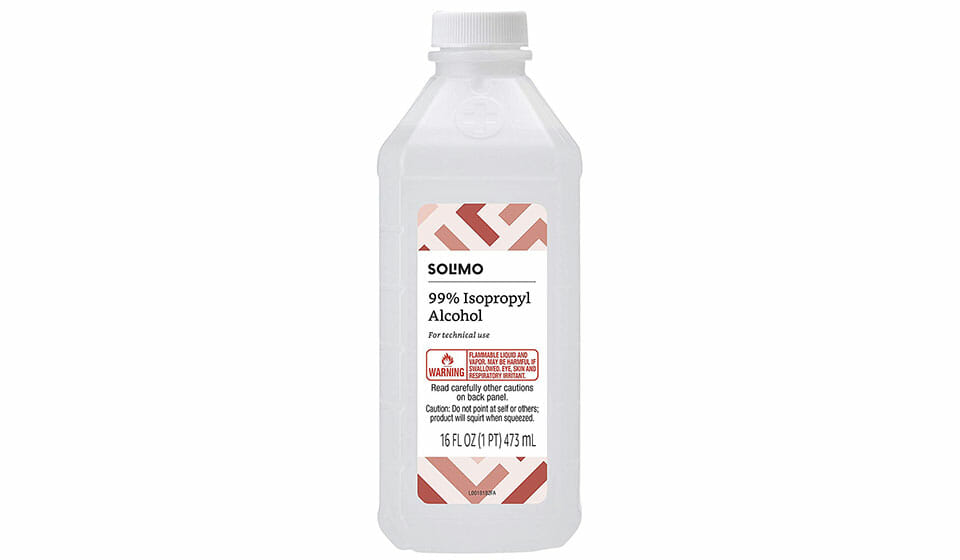
- If you want to make your earpads extra clean and kill off any bacteria, use alcohol or hydrogen peroxide.

NOTE: Before you start cleaning, do a test:
- Grab a cotton swab that is lightly soaked in alcohol (70% dilution is enough) or hydrogen peroxide (3% dilution) and rub it in an inconspicuous place.
- Observe if that caused any discoloration to the pleather. Colored leather is especially susceptible to strong solutions like alcohol. It would be a shame if you accidentally discolor an entire earpad.
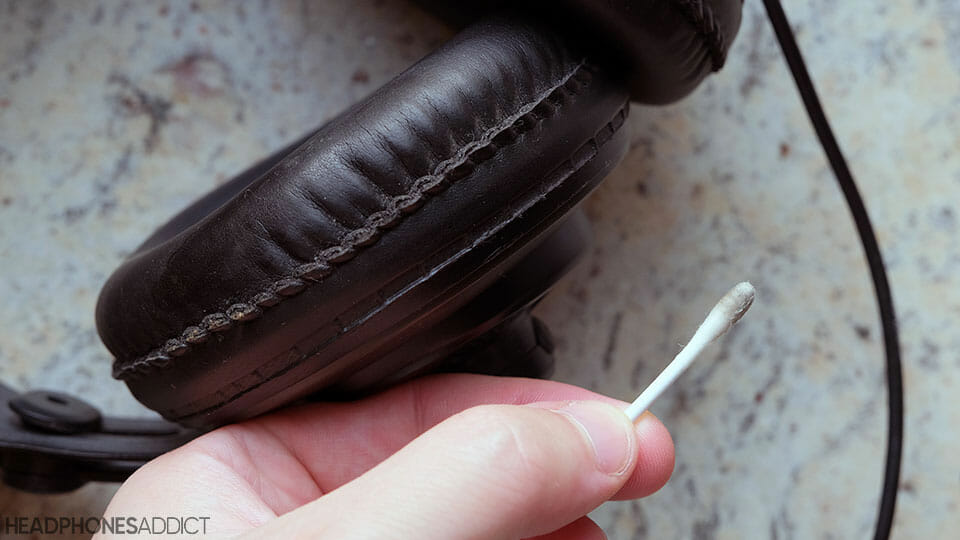

If your Q-tip becomes grey, the color is probably coming off. Don’t use alcohol any further.
- If your earpads haven’t discolored, dampen a small piece of towel with alcohol and rub it gently all over earpads.
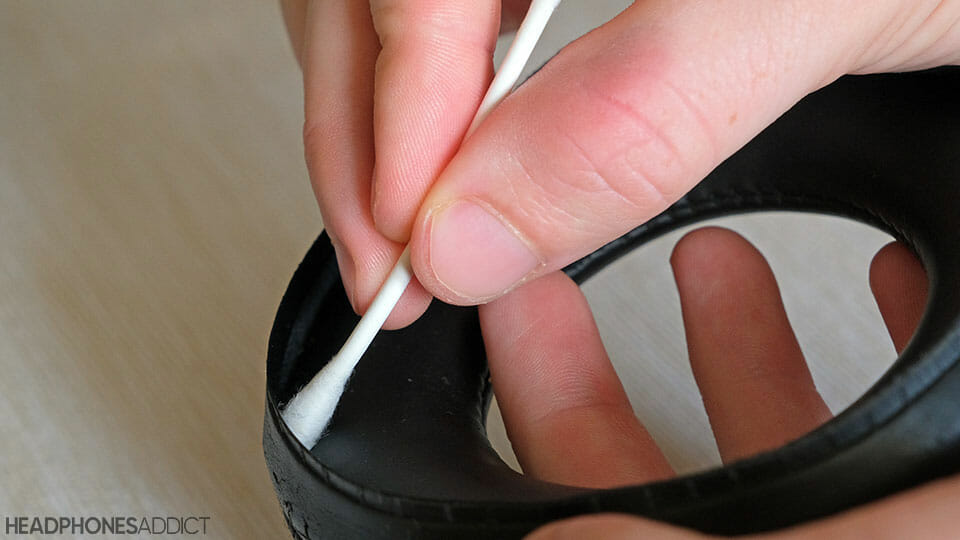
- Use Q-tips dampened with alcohol to clean tight creases and around stitching.

Note that much like your skin, alcohol can also dry out pleather. Don’t clean your earpads too often with alcohol since it might cause pleather to start cracking.
How to clean REAL LEATHER earpads?
Genuine leather feels luxurious and has a unique smell. However, all of that can quickly go away if you don’t take care of it.
Apart from regular cleaning, genuine leather requires you to use special conditioners to moisturize the surface and make it more resistant to cracking.
To clean genuine leather, don’t use aggressive solutions like alcohol. But the rest of the steps are similar:
- First, remove earpads from headphones if possible.
- Use some warm water and a little bit of detergent.
- Gently mix the water and slightly dampen a cloth. Squeeze excess water so that it doesn’t drip.
- Rub the cloth all over your earpads.
- Repeat the same process but with clean water.
- If the dirt is visibly embedded into leather, you’ll have to resort to special leather cleaners. They usually come in the form of foam that you rub onto the leather.
- Bubbles will help soften up the dirt and lift it. After that, you simply wipe the remaining foam with a damp cloth.
- After you’re done cleaning, leave earpads to dry.
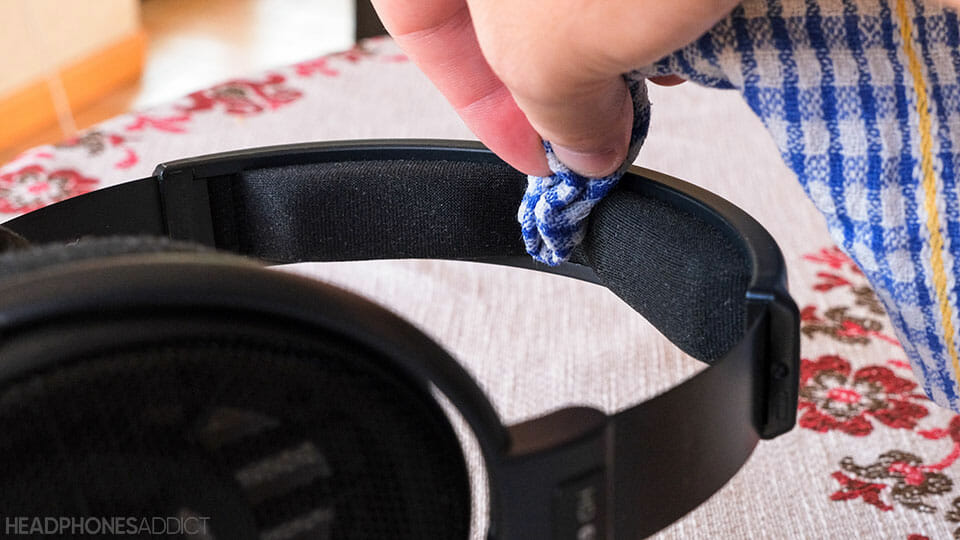
How to clean a HEADBAND?
- Regardless of what material is made of, clean it with warm soapy water. Since it’s probably non-detachable, be extra cautious not to drip water on drivers or other electronic components.
- Do a second cleaning with just water to remove the remains of soap.
- Let it dry.

How to Clean Headphone’s Frame?
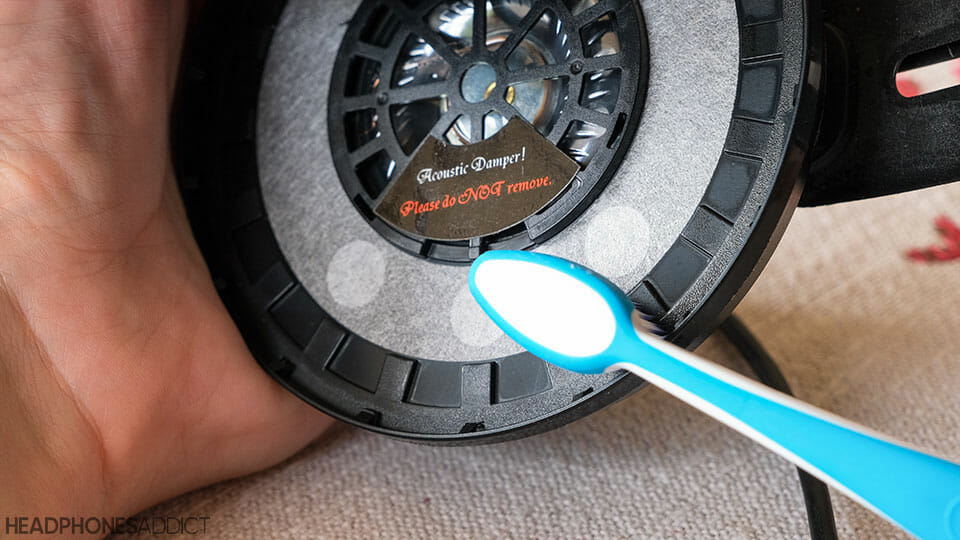
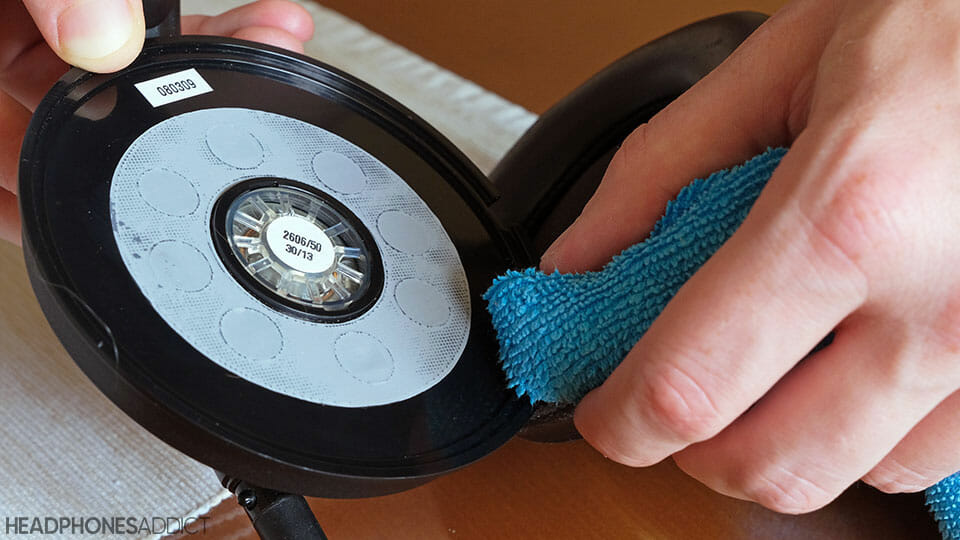
After you finish cleaning earpads, it’s time to clean the frame of your headphones.
Removing earpads often reveals a dirt buildup. The dirt can be stuck around the earcups, while some might have found their way into a driver chamber.
When cleaning, don’t touch or moist the drivers. You might damage electric components or puncture a membrane.
Let us go step by step.
- If dirt formed a ring around your earcups, use a toothbrush to scrape it down by pushing it away from the driver.

- Otherwise, use a bowl of warm soapy water that you used for earpads, and slightly dampen a towel.
If you’re afraid of dripping water inside earcups, face them downwards so that potential water droplets will fall on a table and not onto the driver.
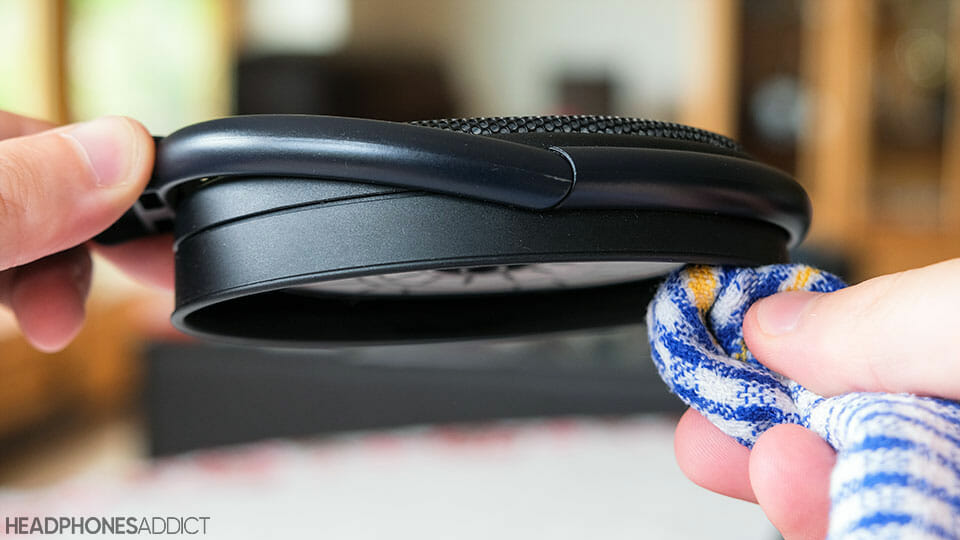

- Rub around the earcups to moisten up the dirt so it can transfer back to a towel.

- Grab a Q-tip and dip it into alcohol (70% dilution is strong enough) or hydrogen peroxide (3% dilution). Use it to rub around hard-to-reach areas like hinges and corners that are inaccessible with a towel.
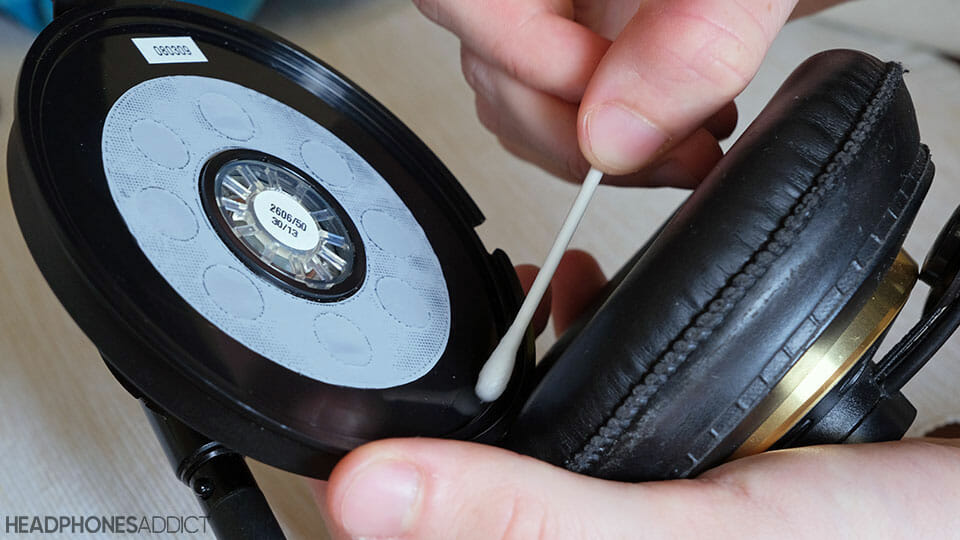

- Fully extend the headband and use a Q-tip with alcohol to clean it thoroughly.
Make sure you use alcohol for cleaning surfaces and not for disinfecting your hands. The latter has additives to protect your skin but will make your headphones look greasy.
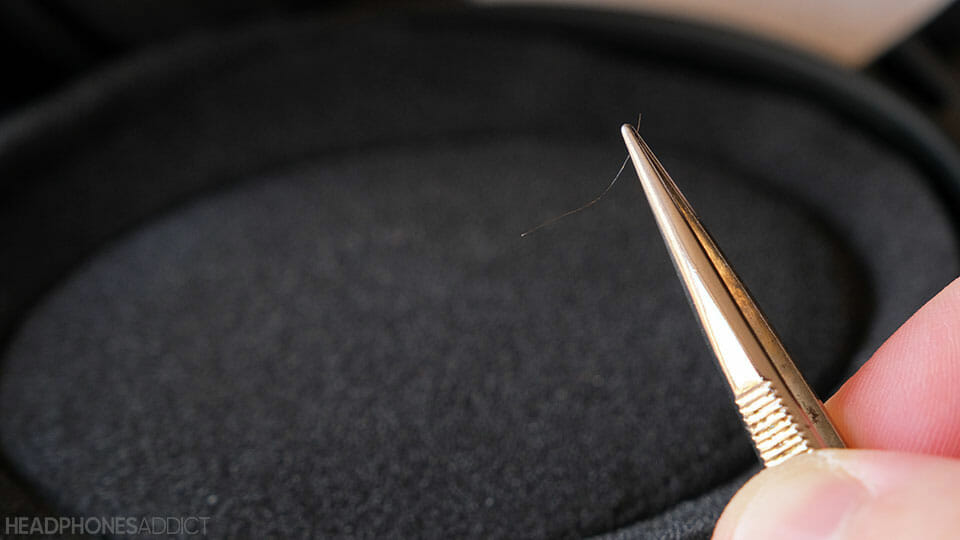
You can also use tweezers to pick any hair that might slip inside the earcups.

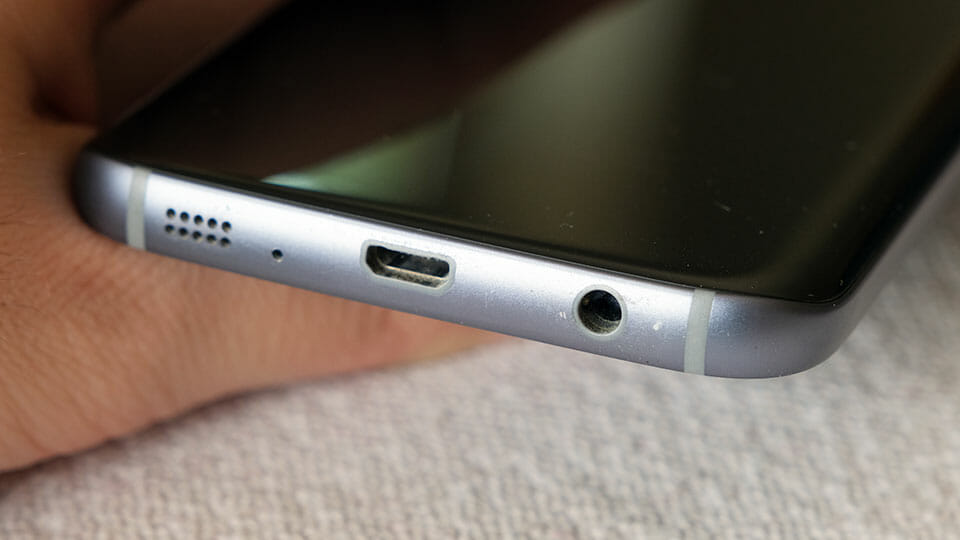
How to Clean a Headphone Jack?
AUX ports attract dirt and fabric particles over time and prevent your headphone from connecting to your portable music device.
Thankfully, all you have to do is:
- Grab a clip that you usually use to open a SIM tray. Or unbend a paper clip.
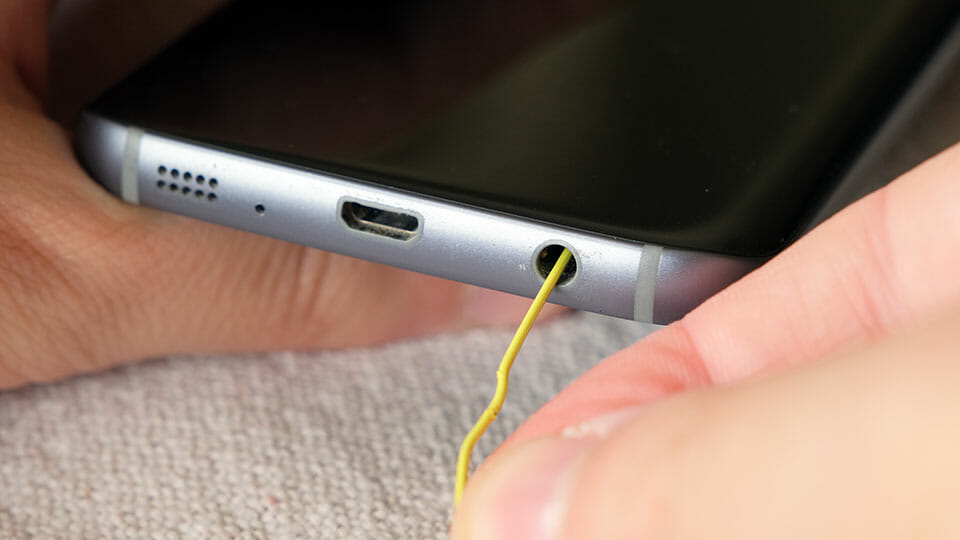

- Gently and carefully reach inside the AUX port and scrape out as much gunk as possible.


People usually keep their smartphones or other portable music players in their pockets. In there, you can find lots of fabric, dust, and dirt.
The latter can slowly accumulate inside a headphone jack. At some point, the layer becomes so thick that your headphones can’t get a connection.
If you’ve used your device for more than 2 years, both charging and headphone ports are already filled with junk.

How To Protect Them from Getting Dirty?
While it’s inevitable that your headphones will eventually get dirty, you can at least slow down the process by doing these things:
Wipe the earpads and headband after every use
It doesn’t take much time to simply wipe over earpads with a towel or your shirt (unless it’s sweaty).
That is especially advisable if you sweat during listening sessions. That sweat is later visible on earpads when you take them off.
Don’t forget to wipe the headband as well.
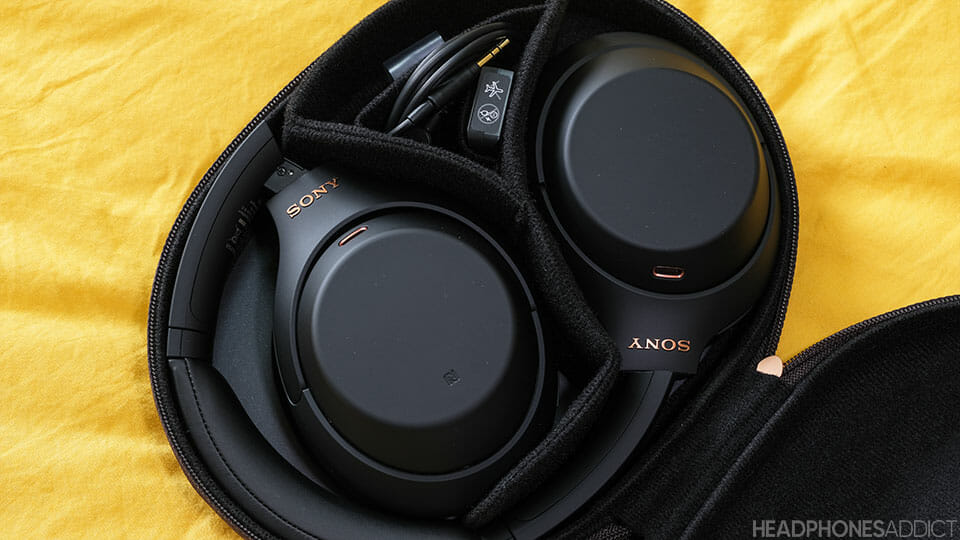
Use carrying case to store headphones
After you stop using headphones, placing them in a closed case helps.
First, leaving them outside on your desk means they’ll get dusty over time. Especially if you own headphones with velour earpads.
Second, you don’t want to expose headphones to extreme conditions like direct sunlight. Sun can dry up the earpad’s fabric, which eventually starts cracking.

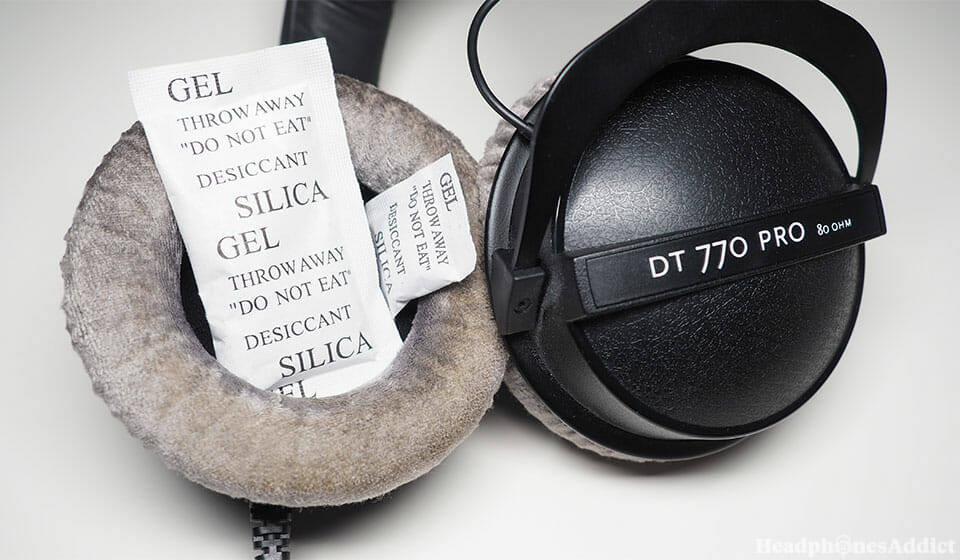
Sucking moisture with Silica gel
Apart from dirt and warmth, bacteria and mold also like moisture. If you had a sweaty listening session, chances are some humidity got inside the headphones.
When you store them in a carrying case, especially if you plan to store them for a long time, put silica gel pockets inside earcups.
The silica gel will absorb all the moisture and keep your headphones dry and they’re perfectly safe.
Or get the best waterproof Bluetooth headphones and not worry about it.

Don’t Damage Your Headphones When Cleaning
- Electronic components don’t mix well with liquids.
- To prevent accidental damage, use liquid cleaners such as soaped water and alcohol only on the outside.
- Don’t be curious and poke around an exposed driver. The ones on headphones are particularly fragile. You can easily bend a driver’s cone or puncture it.
- Before using strong alcohol or hydrogen peroxide dilutions to clean your headphones, always try rubbing some of it on a small surface. Don’t proceed with cleaning with alcohol if you notice discoloration.
- If you have luxurious headphones with genuine leather, don’t use aggressive cleaning solutions. Use gentle soaps or, if the dirt is stuck in there, opt for special leather cleaners.
Frequently Asked Questions (FAQ)
What Can I Use to Clean Headphones?
For regular maintenance, use warm soapy water and brush over your headphones with a damp towel.
If you also want to disinfect, use Q-tips and cleaning alcohol (70% solution or above). Be careful since it may cause discoloration on some headphones.
How Often Should I Clean My Headphones?
When they get dirty. Could be every couple of weeks or wiping them off after every use.
If you’re a heavy user, consider cleaning them once a week. Otherwise, clean them every couple of months.
Can Headphones Cause Earwax Buildup?
The only types of headphones that can cause earwax buildup are in-ear monitors, earbuds, and earphones.
When you place them in your ears, earbuds push the wax back inside. That isn’t ideal since it can cause ear infections.
Can You Disinfect Headphones?
Sure, you can disinfect your headphones, and it’s advisable to do so every once in a while.
To disinfect, use cleaning alcohol (70% or above) or hydrogen peroxide (3% dilution). Be aware of possible material discoloration, so perform a test before disinfecting headphones entirely.


From a childhood fascination with sound, Peter’s passion has evolved into a relentless pursuit of the finest headphones. He’s an audio expert with over 5 years of experience in testing both audiophile and consumer-grade headphones. Quote: “After many years, I can confidently tell which headphones are good and which are terrible.” Find his honest opinion in his reviews.


